
Your Guide to Silk Screen Printing from Home
Screen printing can be intimidating at first, but with just a little bit of time and extra cash, you can have your personally functional print shop! Silk Screen Printing from Home
Similar to stencils, silk screen printing is a simple concept once you got it down. Instead of cut-outs you create a photo emulsion, then create a cutout of the image using bright lights.
Step 1. Getting your supplies - Silk Screen Printing from Home
To start you DIY silk screen print shop, you will need these items, minimum:
Screen/frame, which you can buy at local arts stores or purchase a set like this for just $14.
- Photo emulsion/sensitizer ($20).
- 250 watt bulb ($4)
- Gloves (latex works great).
- A pitch black room.
- T-shirts.
- Squeegee ($14).
- Silk Screen Fabric Ink ($5).
- Piece of cardboard (Fits inside the shirt).
Step 2. Making your image
To start, don’t do anything too complicated. Stick with a simple solid black image with minimal detail. You’ll need the solid black so you can block the light. Your image will later be burnt into an emulsion. Once you’ve decided on your final image, print it on to transparency paper.
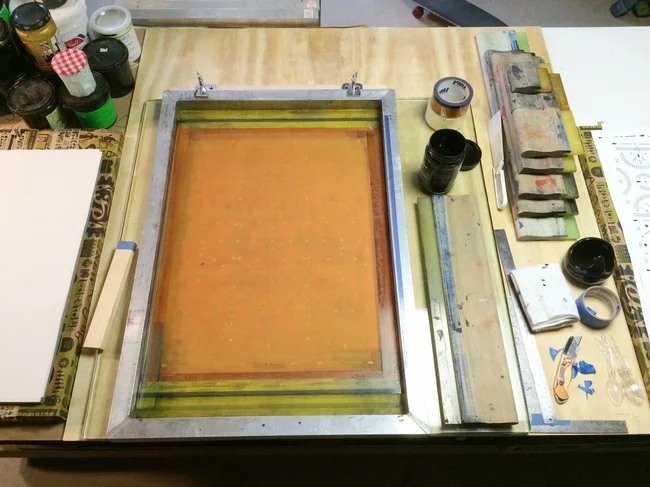
Step 3. Making the emulsion
There are two parts to the emulsion, the sensitizers and then the emulsion. Mix them together according to the instructions. Place your screen on a garbage bag, or anything to capture the mixture. Then pour a little of the mixture on the emulsion, then spread it around the screen with a squeegee. The emulsion should be covering a slightly larger area than the image itself. If your emulsion is still see through, keep repeating till you can’t see through it. The result should be a thin, but even layer across the screen.
Once you’re done, leave the screen to dry in a pitch black room (two hours is about how long it takes).
Step 4. Exposing your image

In the same pitch black room (don’t turn on the light yet), you’re ready to expose the image. place a black cloth or board down, then place the screen/frame with the screen side down onto the black surface. Then place the transparency (where the emulsion is) on the screen. Secure the transparency with tape, then place glass over it.
Place the lamp about two feet from the screen. Angle the lamp towards the transparency then leave it in the room. If you need to, create a reflector out of tin foil pieces and place it above the lamp to reflect light at the image. No other lights should be on. Wait for about 10-15 minutes, then return to the room and gently pull up the transparency. There should be faint markings where the image is burned. If you’re satisfied with the outcome, then we can clean the screen. If not, let it sit for a few more minutes and then check back. Don’t wait too long to check back, because over-exposure will cause the image to bleed.
Step 5. Cleaning your screens
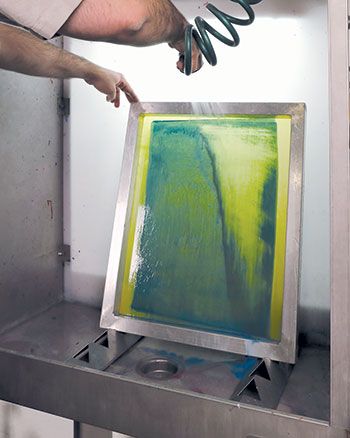
To clean the screen, spray it down with cold water (shower heads & hoses work fine) Keep spraying until you can see completely through your image. When you’re done, hold your screen up to the light to see if it’s just like the transparency.
Now let your screen dry.
Once it’s dry, you’ll want to cover any exposed portions of the screen (areas with no photo emulsion) with tape.
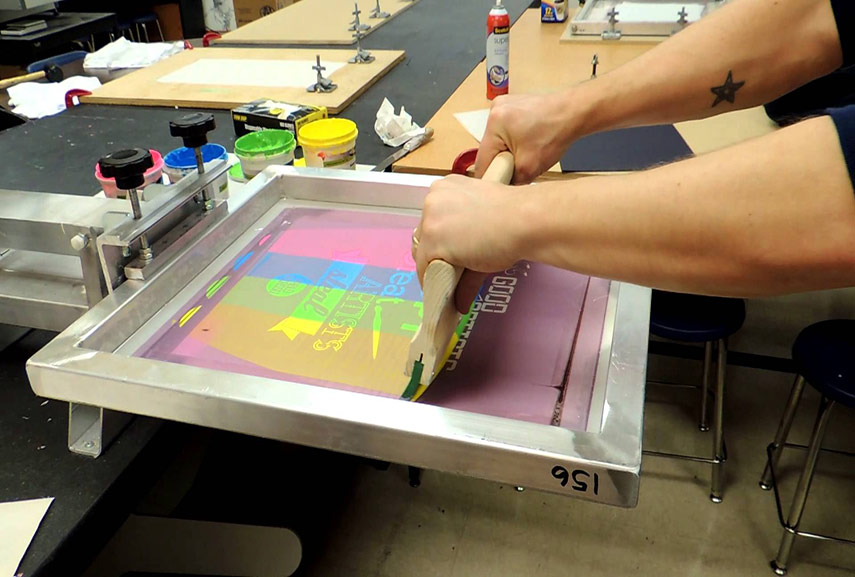
Step 6. Making your prints!
Find a flat surface to place your shirt, then place the piece of cardboard underneath the area that you want to print. Place the screen over the shirt with your design in the area you want to print it..
Carefully pour a small portion of ink across your screen horizontally. Next, take your squeegee and make one smooth move across the screen with a lot of pressure. For the all the first-timers, you should practice on paper before you do this on a shirt. Move the squeegee up and around ever direction carefully, and right a couple times to push all the ink through onto the shirt.
To finish, lift up your screen, pull the cardboard out slowly, then you're done!
DIY tip: If you want the image to stick, place it in the oven at 400 degrees Fahrenheit for about half a minute.
Step 7. Clean up time!
As soon as you’re done printing, wash the ink off your equipment. Ink drys really fast and will be a real pain to get off once it does.
If you’re looking into printing a completely different image, make sure to buy an emulsion remover to get the screen clean and use the frame/fabric again.
Good luck and happy printing!